Batch Sewing Masks
Help make masks for essential workers! There is an ever growing need for masks since it has been advised for everyone to wear them when they are out in public. This Tutorial is not for medical grade masks, but for personal use, freeing up the medical grade masks for the ER workers on the front line. For medical workers, these can fit over N95 masks or other filtering masks.
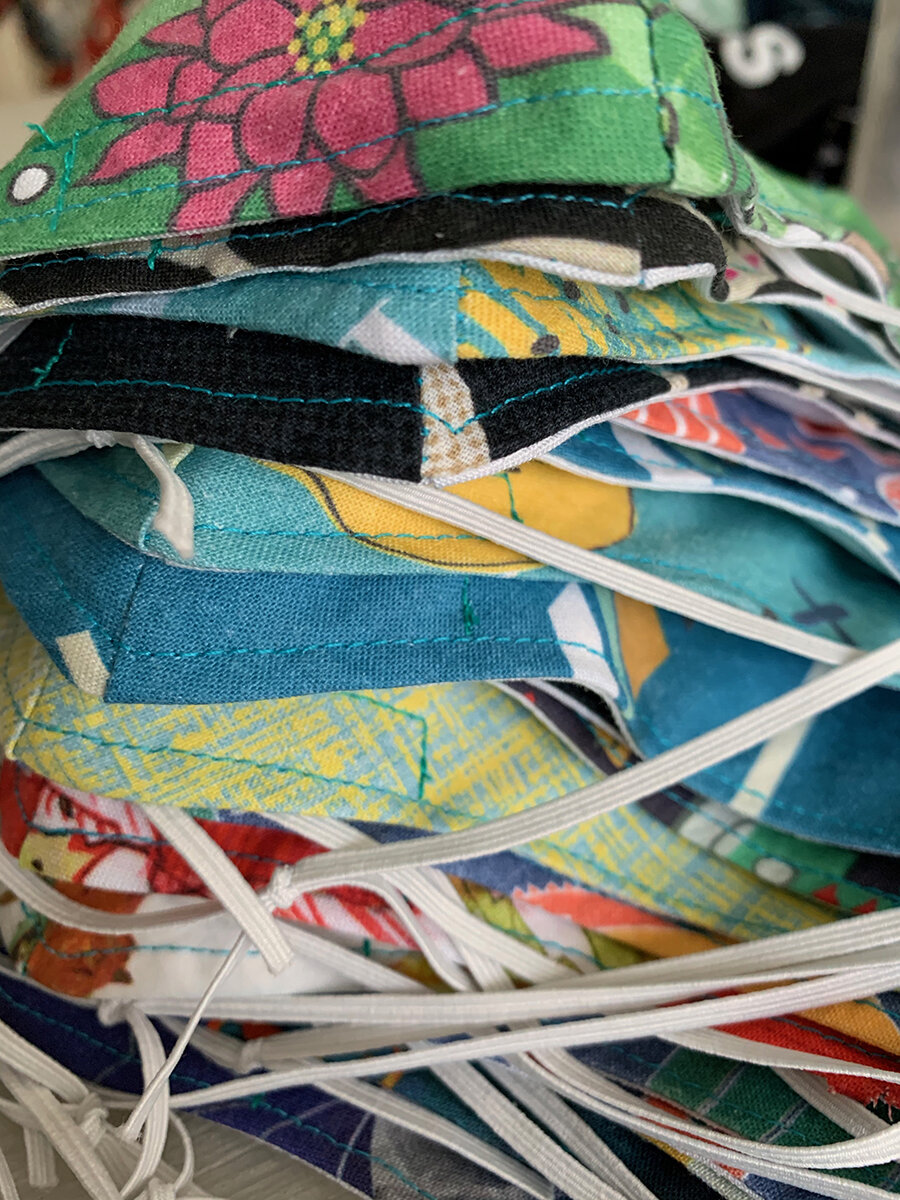
Thank You to the all the folks who purchased handmade masks off my website! It has been a learning experience and I’m happy to be able to make them and earn some money too. I want to share with you how to make these masks (not medical grade!). There is an overwhemling amount of demand for handmade masks and I am pacing myself to make more. I started out with all the supplies, but together we’ve empties multiple spools of wire and elastic. Fabric is still around in abundance so I’ll keep reinventing the design!
In this video tutorial, I show you how to better make a batch of masks instead of doing them individually. To make a single mask, it takes about 15 minutes. To batch make 10 masks, it takes about a hour and a half. Making 120 masks took about 20 hours.
NEXT SHOP UPDATE: will be soon, but only folks on the mailing list will get first dibs, so sign up! I’ll be making more masks for donation in the coming weeks.
I’m slowly but surely, trying to teach myself video editing and filming and I took this opportunity to make a video to release on IGTV and Youtube. (My first youtube video on my official work account, should I make it totally searchable??). Thanks for bearing with me while I learn new skills! It took me several attempts at filming to get the good sewing machine angles. That warm light on my home machine has got to go! I might have to disassemble that panel to remove the bulb, it comes on automatically with the power switch.
While these are not medical grade masks, they offer more protection than wearing nothing. The CDC recommends covering your face with 2+ layers when out in public. Please also continue social distancing. Wearing a mask is a great way to ensure you're not touching your face. They take a bit of getting used to. Try your best not to fidget with or readjust your mask. This defeats the purpose and could increase your contact with germs.
Feel free to reference this video and share the link with friends! Anyone with the link and see it. Scroll to the bottom of this page to see the video or watch on IGTV on your phone!
https://youtu.be/pzLxIK6MdBU
I used a pattern from MimiG Style as my base pattern, but added a few steps from her process to add the nose wire and the filter sleeve option. This blog post from Craft Passion has patterns for all sizes. There is also a lovely page on the State the Label.
**This mask is not medical grade. Please see the image below with info-graphics about how to wear your mask to best effect and how to wash it (regularly, with every use!). **
Made from two layers of 100% woven cotton.
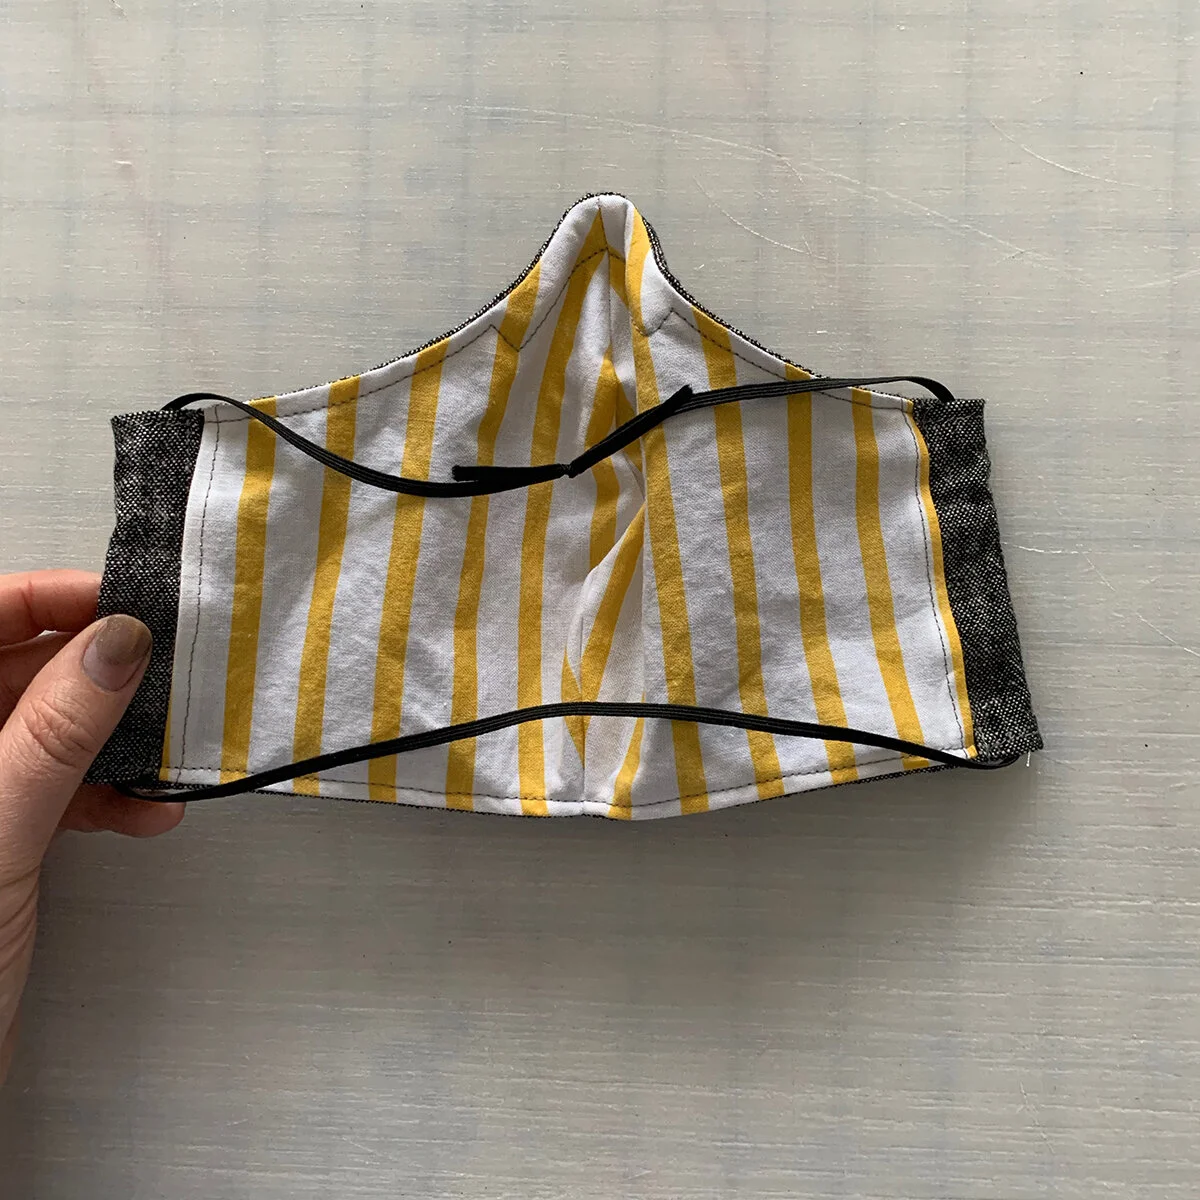
Layers form a pocket that can be used to insert a filter.
Two elastic loops go around your head and can be adjusted by re-knotting to make tighter.
Masks can be washed and dried in a washing machine with a load of clothing.
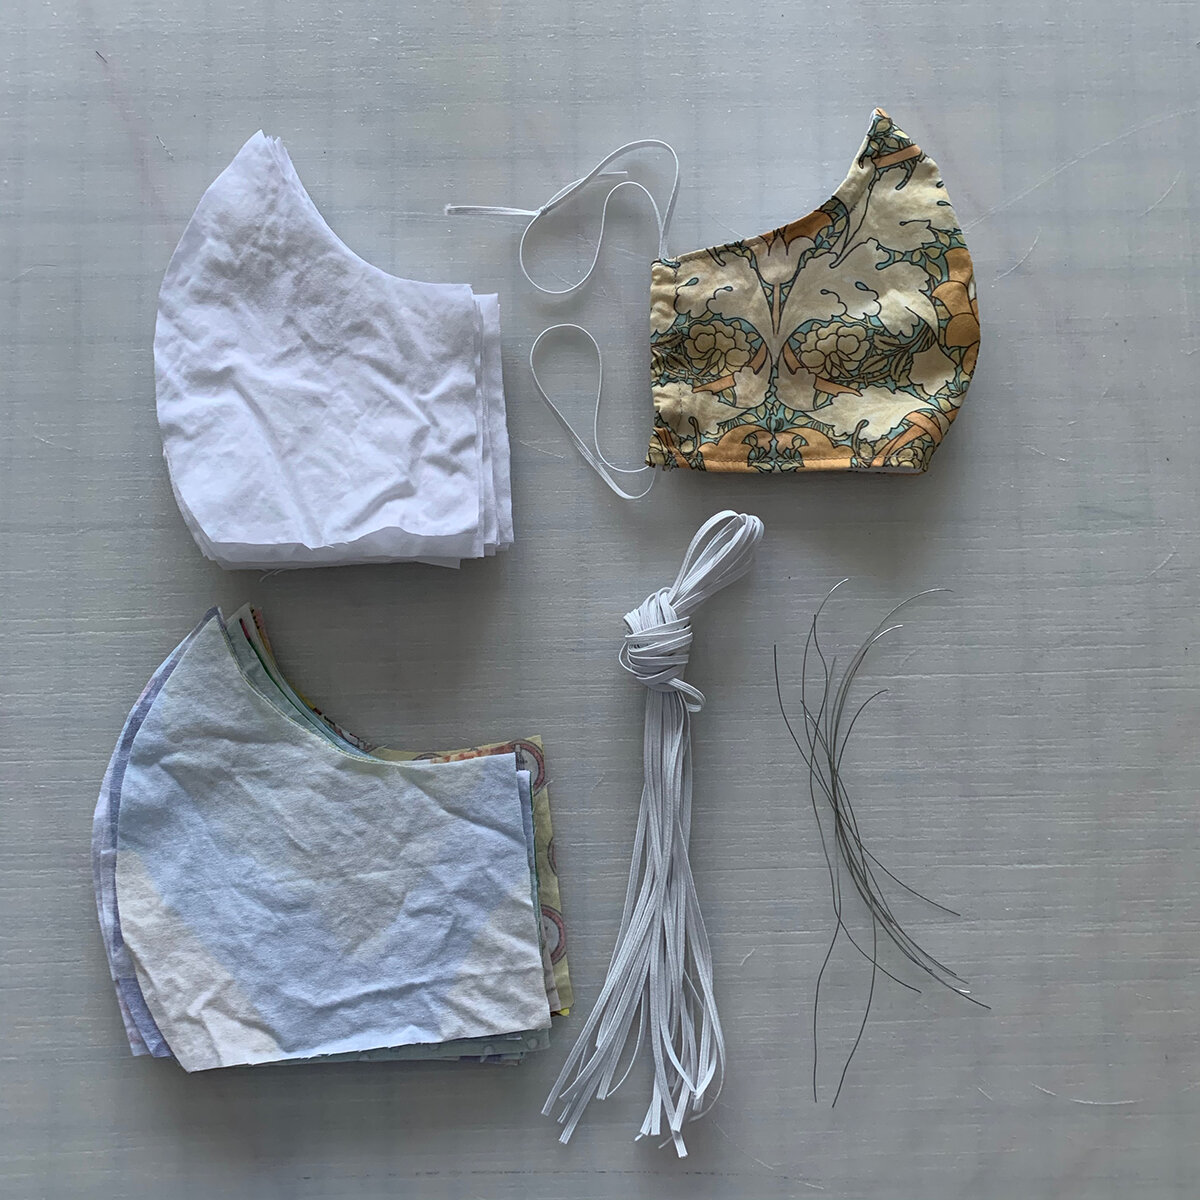
MATERIALS
• main fabric - at least 8” x 12”
• lining fabric - at least 8” x 11”
• 25” elastic cord or 1/8” wide elastic band (If you don’t have elastic, you can use ribbon or knit strips made from old tee shirts or jersey yardage)
• 4” flexible wire (anything from 18 gauge to 24 gauge)(we used 24 gauge in the video and ended up cutting 8” and folding it in half for more structure. So the end length was 4”)
TOOLS
• Scissors
• Pilers
• Sewing Machine
This is how I batch sew masks with nose wires and a sleeve for a filter.
Here are the step by step instructions:
1- First thing, cut out the fabric, with this pattern you can make use of a lot the fabric. Using pattern, cut out 2 pieces of main fabric and 2 pieces of lining fabric.
2- Next, we’re going to crimp and fold all the wire.
3- Sew the outer and liner fabrics right sides together down the front curve at 1/8” seam allowance.
**Tip: Chain stitch each step to go faster!
4- Stitch or serge to 1/8” or 1/4” seam allowance.
If you sew a larger seam allowance, you’ll need to notch along the curved edge.
5- Next, Stitch or serge the edges of the liner fabric.
6- Pin the liner and outer fabrics right sides together. Pin at center seam to get crisp alignment.
**Tip: Avoid over-pinning to save time
7- Stitch along the top and bottom at 1/8” seam allowance. Pivot at the nose bridge. Leave the sides open.
8- Flip all the masks right side out.
9- Use the wire to measure how large the channel needs to be.
10- Top stitch along the top edge of your mask. Pivot and sew 1/4” from the top edge to make space for your wire.
**If you can insert your wire here, go for it. I found that thinner wire was really hard to slide into place, so I did that in a separate step.
11- Insert the wires into the sleeve (you have to wiggle it past the seam allowances inside.)
12- Finish your top stitch. Close off the wire sleeve and top stitch to the end of the mask.
**Tip: Trim all your threads as you go.
13- Fold and pin the channel for your elastic. Important that you don’t enclose your filter sleeve.
14- Stitch right along the folded edge. Make sure you have enough space to insert your elastic. Back stitch at the beginning and end!
15- Insert the elastic or straps. (If you don’t have elastic, you can use ribbon, twill tape, or knit jersey strips)
**Tip: Easiest thing to use a large blunt needle. (the key things is that the needle won’t stab into your fabric)
If you don’t have a large needle, just use a small safety pin. Slide, Scrunch, Pull, Hold, Slide, Scrunch, Pull.
Adjustable Straps! Tie them as needed.
I cut the elastic to 25 inches. (If you bought a kit from me, I have measured around 25-26 in of elastic for each kit.)
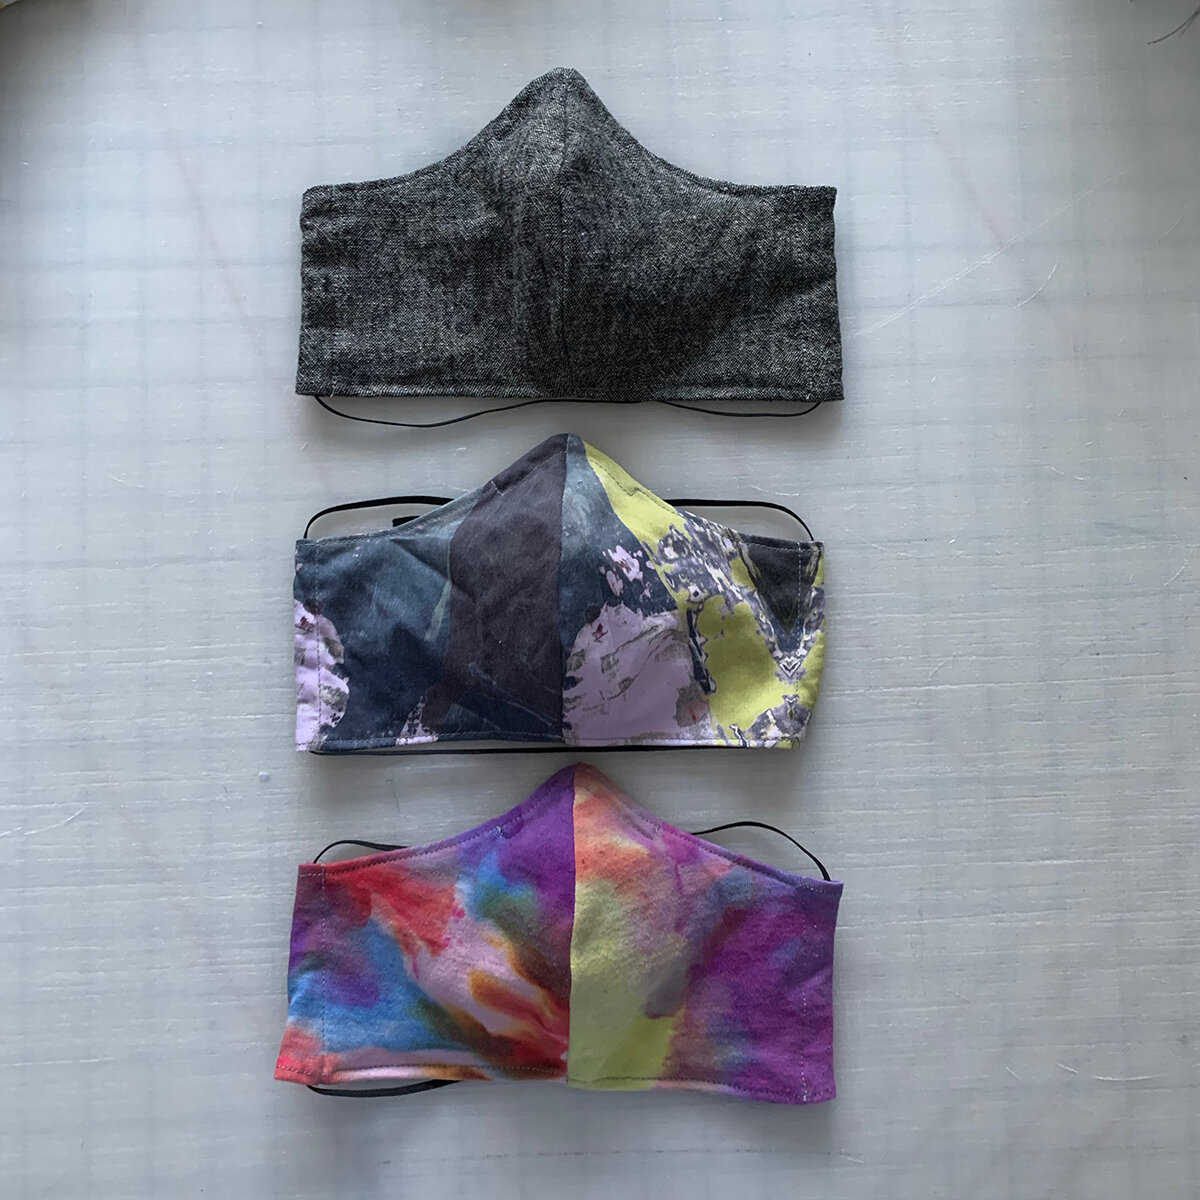
All done!
To put on you mask: Pull both straps over your head to put on.
Mold the wire to fit your nose and you shouldn’t get any fog on your glasses.
MASK WEARING TIPS (see Image Below):
Wash any fabric mask before wearing.
Wash hands well before putting on mask.
If mask gets wet or humid, switch to a new mask and wash damp mask.
Never use a mask after single use without washing it.
Wash after each use. If you go into a store, or are in public, remove mask and safely store in a bag before getting into your car or walk into your house so you’re not bringing any possible germs with you into those areas.
When removing the mask:
Don’t touch the front or any surface of the mask - only remove via the elastic loops.
After removing, immediately wash your hands or use hand sanitizer (70%+ alcohol based)
Place used mask in a bag, or directly into the washing machine.
